Last updated November 22, 2026
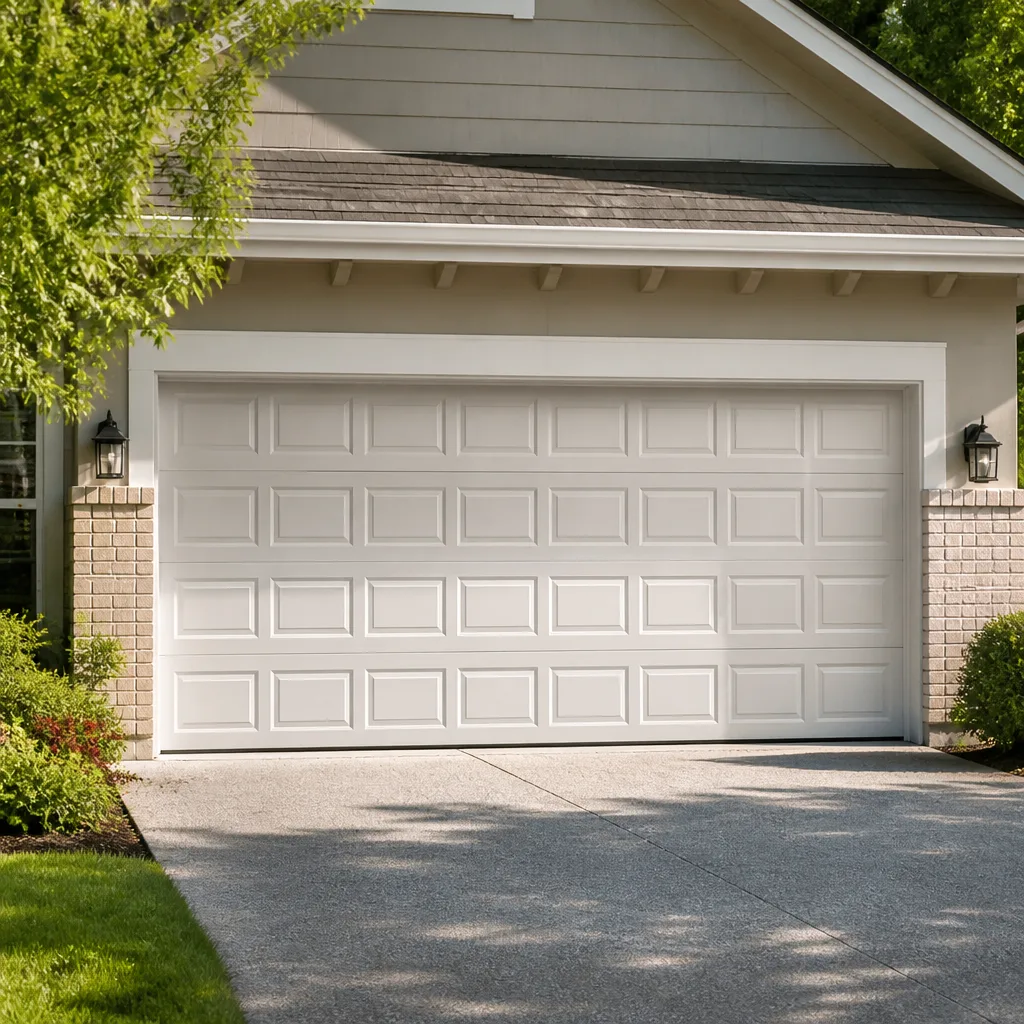 Raised-panel steel
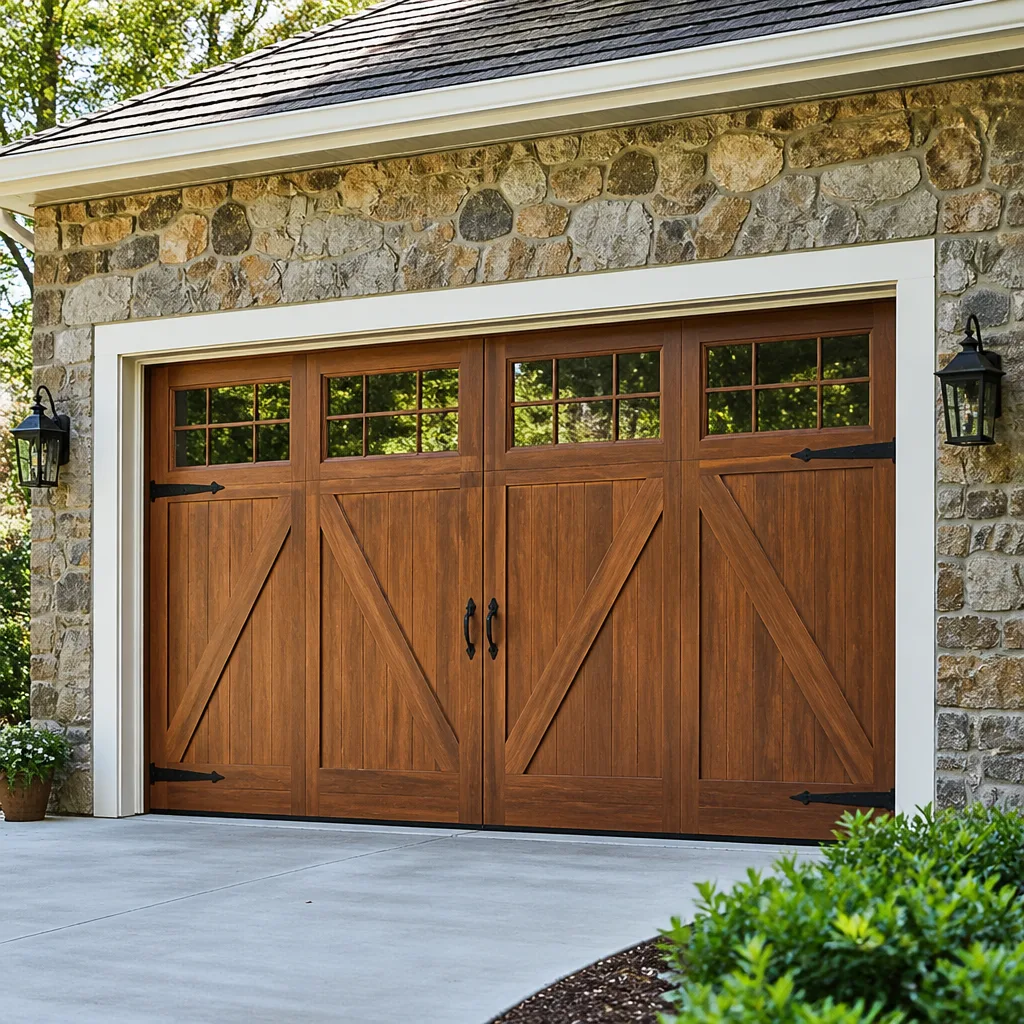 Carriage house
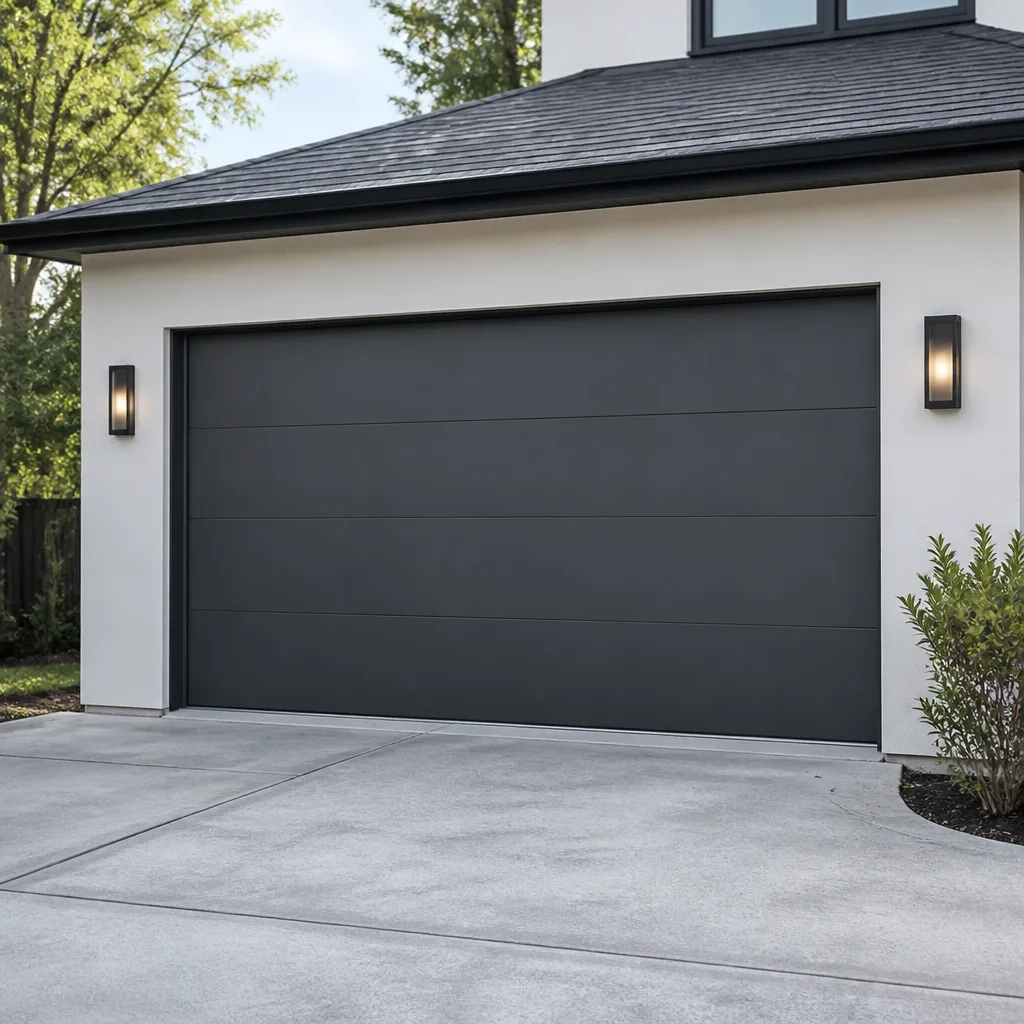 Modern flush
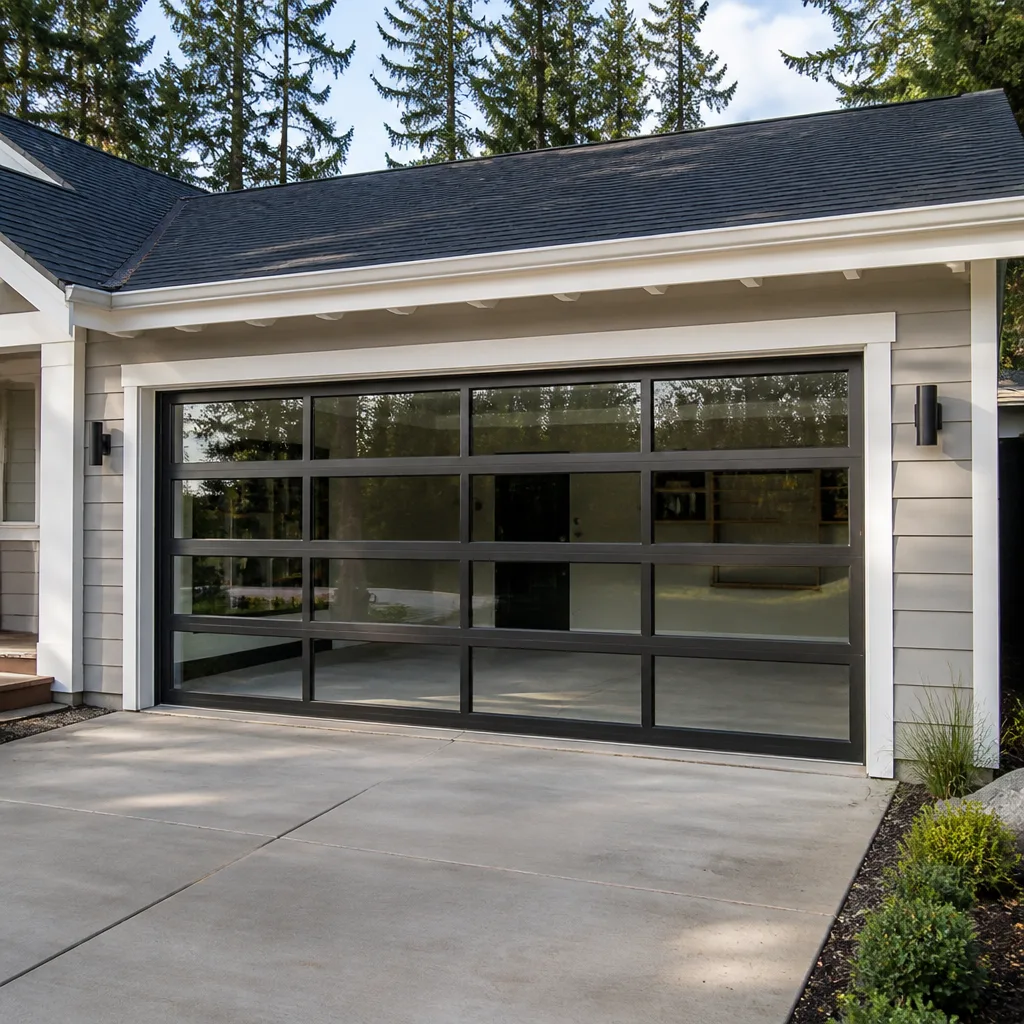 Full-view glass
 LiftMaster openers
 Chamberlain openers
Full 25-point door and opener safety check with every visit - springs, cables, rollers, tracks, and your LiftMaster or Chamberlain opener included
You get a price before we start. It does not change when the pro arrives.
Get your free estimateGarage Door Repair Maintenance Checklist for Town Center Homeowners
A torsion spring rarely snaps out of nowhere. In the weeks before it fails, it usually shows three or four warning signs: a stretched coil gap, a door that feels heavier on the way up, a light creak that wasn’t there last month, and a garage that suddenly won’t hold its open position. Most homeowners catch none of them, because nobody ever told them what to look for. Springs aren’t the only part with a tell. Cables, rollers, tracks, and openers all signal their decline before they quit. This guide pairs every checklist item with a plain-language description of the failure it prevents, so you can tell the difference between normal wear and a breakdown on the way. By the end, you’ll have a 15-minute routine you can run twice a year and a short list of things to write down.
Quick Answer
A garage door maintenance checklist for Town Center homeowners should cover six areas: springs, cables, rollers, tracks, hinges and hardware, and the opener system. The safe homeowner tasks are lubrication, visual inspection, and a balance and safety-reverse test. Anything involving spring tension or cable adjustment belongs to a trained technician. Run the full routine twice a year, watch for the specific sound and feel cues below, and call a professional the moment you see one.
Styles & brands we work with
- Raised-panel steel
- Carriage house
- Modern flush
- Full-view glass
- LiftMaster openers
- Chamberlain openers
Table of Contents
- Springs: The Four Signals Before a Snap
- Cables and Rollers: What Fray and Drag Actually Look Like
- Tracks and Hinges: The Alignment Clues Worth Catching Early
- The Opener: Sound, Speed, and Sensor Checks
- The 15-Minute Twice-Yearly Walkthrough, in Order
- How Town Center Humidity and Temperature Swings Change Your Lubrication Schedule
- What to Document So a Technician Diagnoses Faster
- What You Can Do Safely vs. What Needs a Technician
Springs: The Four Signals Before a Snap
Springs are the highest-risk component on any garage door, and in our experience they’re also the most misread. A torsion spring holds the door’s weight under stored tension. When it fails, it releases that tension fast and loud. The good news is that springs seldom give out cleanly. They telegraph it first.
The four signals to watch for, in order of how reliably they show up:
- A visible gap in the coil. On a torsion spring, look at the coil from a distance and check whether the windings are evenly spaced. A widening gap near one end is a sign of fatigue. A gap that wasn’t there during your last inspection is worth a call.
- The door feels heavier by hand. This is the balance test, and it’s in more detail below, but the short version: disconnect the opener and lift the door to waist height. If it won’t rest there on its own, the spring is losing its lift.
- A creak or groan that changes pitch. Light noise during operation is normal. A sound that has changed since last inspection, or that appears at one specific point in the travel, points to spring or bearing wear.
- One side drops faster than the other. Watch the door travel up. If one side lags, or the door tilts before it settles, the two springs are no longer working evenly.
Town Center garages take a real beating across a full year of temperature swings. Springs don’t rust, but the hardware they’re mounted to can, and repeated expansion and contraction from warm afternoons to cold nights works the spring through more cycles than the same door would see in a milder climate.
A torsion spring does not need to be handled by anyone but a trained technician. Stored tension on a wound spring can release without warning, and the tools used to wind and unwind it are specific and unforgiving. If you see any of the four signals above, treat it as a call-the-problem, not a fix-it-yourself problem.
Cables and Rollers: What Fray and Drag Actually Look Like
Cables and rollers wear slowly, and the cues are subtler than spring failure. That’s exactly why most homeowners miss them. A frayed cable or a seized roller doesn’t announce itself. It grinds, drags, and eventually snaps on a bad day, usually with the door halfway up.
Cables: With the door closed, look at the two cables running down each side. A healthy cable is a clean set of wound strands with no fraying. What to catch:
- Strands sticking out. A cable with a single loose strand is on the way out. Don’t touch it, don’t grease it, don’t try to wind it back. Note it and call.
- A kink or bend that won’t lie flat. A cable can kink after a door has been forced or misaligned. A kinked cable won’t run straight in its drum.
- Visible slack on one side. Slack on one cable, or uneven tension between the two, means the door isn’t lifting evenly.
Rollers: These are the small wheels that ride in the track on each side of the door. There are two common types: metal rollers, which are cheap and get noisy as they wear, and nylon rollers, which are quieter but can crack. What to watch for:
- A grinding or scraping sound during travel that wasn’t there before.
- Visible flat spots on the roller or a wobble as it rolls in the track.
- Rollers that won’t spin freely when you nudge the door by hand.
Rollers are the one component on this list a homeowner can swap safely. It’s a hardware job, not a tension job. That said, on a Town Center door that has seen a few winters, the roller bolts often seize from humidity and take more effort than expected. We can walk you through replacing them, or handle it as part of routine garage door repair if the door also needs attention elsewhere.
Tracks and Hinges: The Alignment Clues Worth Catching Early
Tracks that go out of alignment are the most common cause of a door that jams, and the warning signs appear well before the door sticks. Straight tracks, properly mounted, keep the door running flat. Bent tracks bind the rollers, which strains the opener and stresses the panel edges.
Walk both sides of the door with the door closed and watch for:
- Bends or dents in the vertical and horizontal track. Even a small dent can catch a roller. Track bends are usually caused by impact, thermal movement, or a door that has been forced by hand.
- A visible gap between the track and the door frame. The track is bolted to the jambs. Loose bolts let the track wander.
- A door that rubs the track on one side. An even gap on both sides is normal. Rubbing on one side means the door has shifted.
- Tight or loose hinge joints. Hinges are what connect the door panels as the door articulates. A hinge that has lost its pin, or one that’s visibly worn, will make the door slam or rattle.
The good news about track alignment is that a technician can usually correct it in the same visit. The bad news is that repeated track bending from an uneven door or a bad opener setting will keep coming back until the underlying issue is fixed. If the track has been bent more than once in the same place, it’s a sign the door isn’t running true. That’s the moment to look at whether the door needs opener adjustment or a heavier-duty hardware tune-up.
One thing that comes up in Town Center more often than people expect: the low headroom in some of the older garages. A track that looks “just bent” may actually be mounted slightly too low for the spring travel, which produces repeat rubbing. A proper adjustment fixes it. Bending the track by hand to “make it fit” usually makes it worse.
The Opener: Sound, Speed, and Sensor Checks
An opener that’s failing doesn’t just stop working one day. It usually warns you first, and the warning is a change in the sound or speed of the door’s travel. LiftMaster, Chamberlain, and Genie systems each have their own tell, and we work on all three.
What to check and what the cue means:
- Grinding or a high-pitched whine under the motor cover. On a belt-drive LiftMaster or Chamberlain, this usually means a worn belt or a stretched chain. On a Genie screw-drive, it often means dry or contaminated drive threads.
- A door that moves slower or faster than it used to. Speed changes are the opener’s way of saying the motor is struggling. Often the door has become heavier (springs) or the door is binding (tracks).
- A door that only moves a few inches and stops. This is usually a safety-reverse or force-limit trip. Before assuming the opener is the problem, confirm the safety sensors and run the balance test.
- A door that closes and immediately reopens. Same answer: the safety-reverse has been triggered. Check the sensor lenses for cobwebs, spider nests, or dust. Town Center garages pick up plenty of insects in summer, and a single sensor lens blocked by a spider web will stop the door every time.
Run the safety-reverse test every six months. Place a small box or a roll of paper towels on the ground in the center of the door’s path. Close the door with the wall control. The door should reverse on contact. If it doesn’t, or if the door keeps coming down, stop using the door until an opener technician checks it.
One thing that pushes openers to their limit here: door tracks and springs that were tuned in cool weather can behave differently when the temperature swings. A heavier-feeling door drags on the opener, which trips force limits that didn’t trip six months ago. That’s a maintenance sign, not necessarily an opener failure.
The 15-Minute Twice-Yearly Walkthrough, in Order
Here’s the order we’d actually walk it. The routine works better in sequence because each step tells you whether the next one is even worth running. Skip nothing, but don’t rush any step either. Fifteen minutes, twice a year, in spring and fall.
- Start with the door closed and look at the springs first. From about ten feet back, look for coil gaps, rust at the windings, or any bend at the ends. Note anything that wasn’t there last time.
- Look at both cables. Confirm no fraying, kinks, or slack on either side. Do not touch a frayed cable; just note it.
- Walk both tracks slowly. Look for dents, bends, and gaps between the track and the frame. Confirm the door is running flat and the gaps are even.
- Run the door by hand. Disconnect the opener (pull the manual release). Lift the door to waist height. It should stay up on its own. If it drops, the spring is failing. If it feels heavy, note it. Reconnect the opener after.
- Run the door up and listen. Pay attention to grinding, scraping, or a new squeak at a specific point in the travel. The point in the travel matters; note where in the run it happens.
- Run the safety-reverse test with a small box or roll of paper towels on the ground. The door should reverse on contact.
- Check the sensor lenses. Wipe each lens with a microfiber cloth. Look for cobwebs, insects, or dust. Do this even if the door seems to be working.
- Lubricate only the right parts. Rollers, hinges, and bearing plates. Use a silicone-based spray or white lithium grease. Do not grease the tracks, and do not lubricate the spring or the cables.
- Inspect the panel edges for wear. Look for cracks at the hinges, damaged bottom seals, and any sign of play at the panel joints.
- Check the opener’s wall control and safety sticker. Note the opener brand and model if you can see it. Write it down.
- Close the door, listen one last time. A door that runs quiet and even on both the up and the down is a door that’s running true.
If any of the steps surface a spring, cable, or track problem, stop the routine and call. The rest of the checklist can wait. We’re happy to walk through what you found over the phone before you commit to an appointment.
How Town Center Humidity and Temperature Swings Change Your Lubrication Schedule
The standard advice (“lubricate once a year”) is written for a climate that doesn’t match Town Center. Our humidity is high enough through the summer to attract grit and to oxidize exposed metal, and our temperature swings pull hardware tighter in winter and looser in spring. That combination changes both how often you should lubricate and which products you should reach for.
What actually matters here:
- Lubricate twice a year, not once. Spring and fall are the sweet spots. The spring pass protects against the summer humidity, and the fall pass keeps the door running freely through the cold season when the metal contracts.
- Use silicone spray or white lithium grease. Both stay put in humidity. Standard WD-40 is a fine penetrant but a poor long-term lubricant; it dries out and, over time, attracts dust and grit. That grit is exactly what wears rollers and hinge pins. Save the WD-40 for freeing a frozen bolt, not for routine lubrication.
- Never grease the tracks. Tracks are meant to stay clean and dry. Grease on the track attracts grit that turns into an abrasive paste. It will make the door noisier, not quieter.
- Wipe the rollers and hinges before you lubricate. A quick pass with a microfiber cloth removes the grit that lubrication would otherwise glue in place.
- Expect more noise in the first cold week. A door that’s properly lubricated will still sound slightly different when the temperature first drops hard. If the noise changes in character (from a routine creak to a grind), that’s a signal, not a seasonal shift.
Most Town Center garages also have a fair amount of dust that turns into a sticky layer in the humidity. Wiping the hardware before you lubricate makes the lubricant last longer and keeps the rollers spinning. If the door hasn’t been lubricated in more than a year, a professional cleaning and re-lubrication as part of a garage door repair tune-up is usually a better starting point than a quick spray by hand.
What to Document So a Technician Diagnoses Faster
When you call with a door problem, the more specific you can be, the faster we can diagnose it and the fewer trips it takes. Most homeowners give us something like “it’s making a noise.” Here’s what actually helps.
Keep a simple garage door log – paper, notes app, either works. Record these things each time you see something new:
- Dates of any inspection. Even “ran through the checklist on the 14th” is useful. If a problem appears three months after your last inspection, the timeline tells us which components were newly stressed.
- Photos of the springs, cables, and tracks. A wide shot of each is enough. Photos from two dates side by side show whether a coil gap has grown, whether a cable has developed a kink, or whether a track has bent further.
- Sounds, described as specifically as you can. “Grinding on the way up, right when the door is halfway” is more useful than “making a noise.” Mention where in the travel the sound appears, and whether it’s on the up, the down, or both.
- Which side is affected. One-side drag is a different diagnosis from a both-sides drag.
- Whether the manual release was used. If you’ve had to pull the manual release to move the door by hand, that’s a strong signal that the opener or spring is failing.
- The opener brand and model. A photo of the opener label is usually enough. LiftMaster, Chamberlain, Genie, and Craftsman systems all behave slightly differently, and knowing which one you have saves a phone call later.
- Weather and season notes. If the noise got worse in the first cold snap, or after a humid week, say so. That’s useful context.
You can send photos and the log to us before you come in for an appointment. It’s a real time-saver. It also helps us give a more accurate estimate before we see the door in person, since a lot of what we’d otherwise have to look up on the door is already in your notes.
What You Can Do Safely vs. What Needs a Technician
Homeowners get into trouble when they try to fix the parts of a garage door that hold tension. So here’s the clearest line we can draw.
Safe for homeowners:
- Lubricating rollers, hinges, and bearing plates (silicone spray or white lithium grease).
- Wiping down sensor lenses.
- Running the balance test (disconnect opener, lift to waist height, watch).
- Running the safety-reverse test.
- Checking for track bends, cable fraying, and spring coil gaps by sight only.
- Replacing rollers, if the door is closed and the opener is disconnected.
- Replacing the opener’s battery or light bulb.
- Documenting sounds, photos, and dates.
Needs a trained technician:
- Any work on the torsion spring – winding, adjusting, or replacing.
- Any work on the cables – replacing, tightening, or re-drumming.
- Adjusting the track alignment.
- Adjusting the opener’s force limits or travel settings.
- Replacing hinges that have pulled free from a panel.
- Any repair that requires the door to be raised or the tension to be released.
The reason the second list belongs to a technician is really one reason: stored tension. Springs and cables hold enough energy to cause serious injury in an instant, and the tools and technique required to release that tension safely are specific to the trade. Our technicians have up to 8 years of experience working with springs specifically, and we treat every spring job as a two-hand safety job – no shortcuts. That’s the kind of task where doing it yourself, even once, is a real risk.
If you’re not sure which side of the line a job falls on, call and ask. If it’s a homeowner task, we’ll tell you. Sometimes it’s easier to have us handle it as part of a garage door repair visit, and sometimes rolling up your sleeves is the right answer. We’ll say which.
Common Mistakes to Avoid
- Greasing the tracks. It’s the most common garage door mistake we see, and it’s the worst. Grease attracts grit that turns into an abrasive paste, which wears rollers and makes the door louder. Tracks should stay clean and dry; lubricate the rollers and hinges instead.
- Ignoring a change in sound. A door that has gone from a routine creak to a grind is telling you something. In our experience, homeowners wait until a door stops moving before calling. By then, smaller damage (like a bent track from a forced lift) tends to be part of the repair.
- Using WD-40 as a lubricant. WD-40 is a fine penetrant, and a poor long-term lubricant. In Town Center humidity, the difference matters. Silicone spray or white lithium grease will hold up through a humid summer. WD-40 won’t.
- Bending a track back by hand to “fix” a rubbing door. A bent track is a symptom. The cause is usually a spring, an opener setting, or a shifted frame. Bending the track back masks the problem and makes the door run unevenly, which wears rollers faster.
- Replacing the opener when the issue is the spring. A door that has gotten heavy will trip the opener’s force limit, and the opener will stop the door looking like the fault. Test the door’s balance by hand before assuming the opener is the problem.
- Pulling the manual release with the door open. If the door is up and you pull the manual release, the door can come down hard. If the door needs to be manually operated, close it first and pull the release with the door down.
- Skipping the twice-yearly routine because the door “still works.” Most of what fails on a garage door fails slowly. The routine exists to catch slow failures before they turn into a stuck door on a busy morning.
See the difference
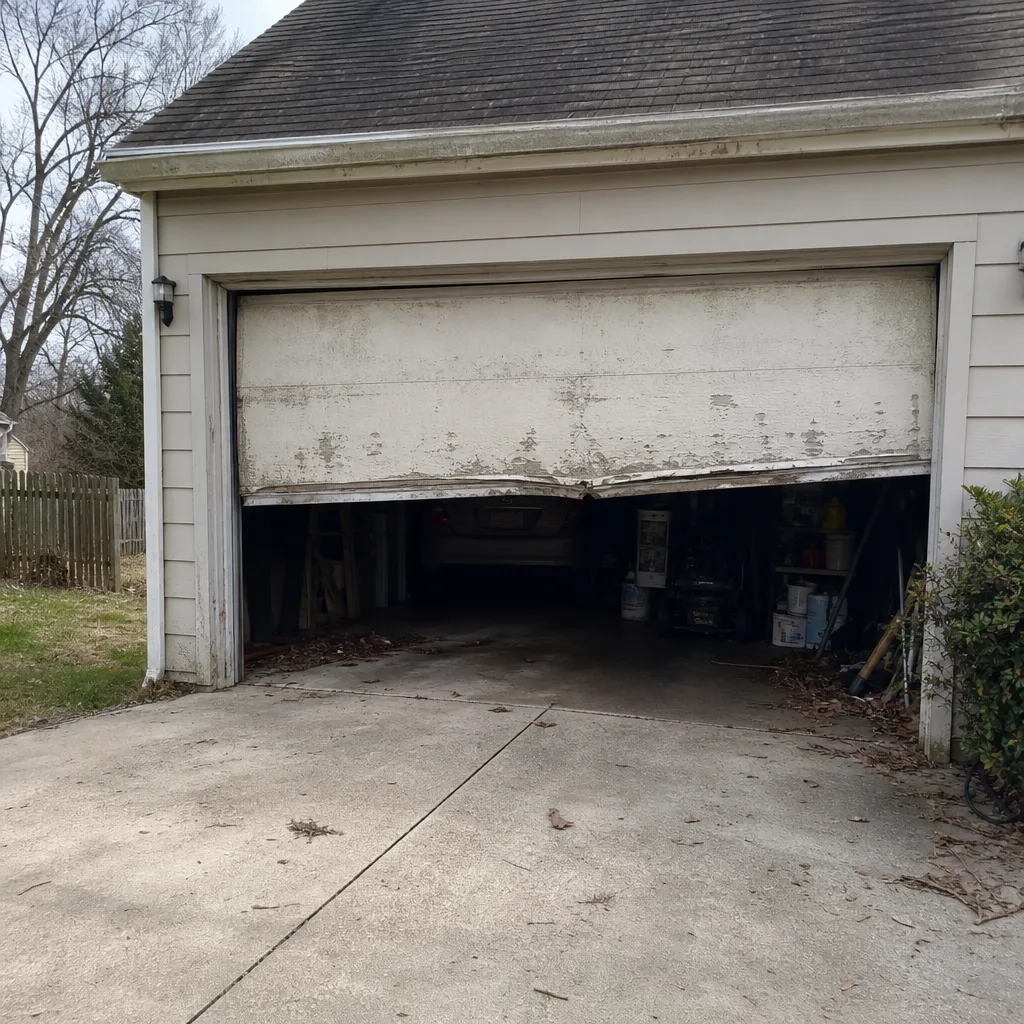 Before
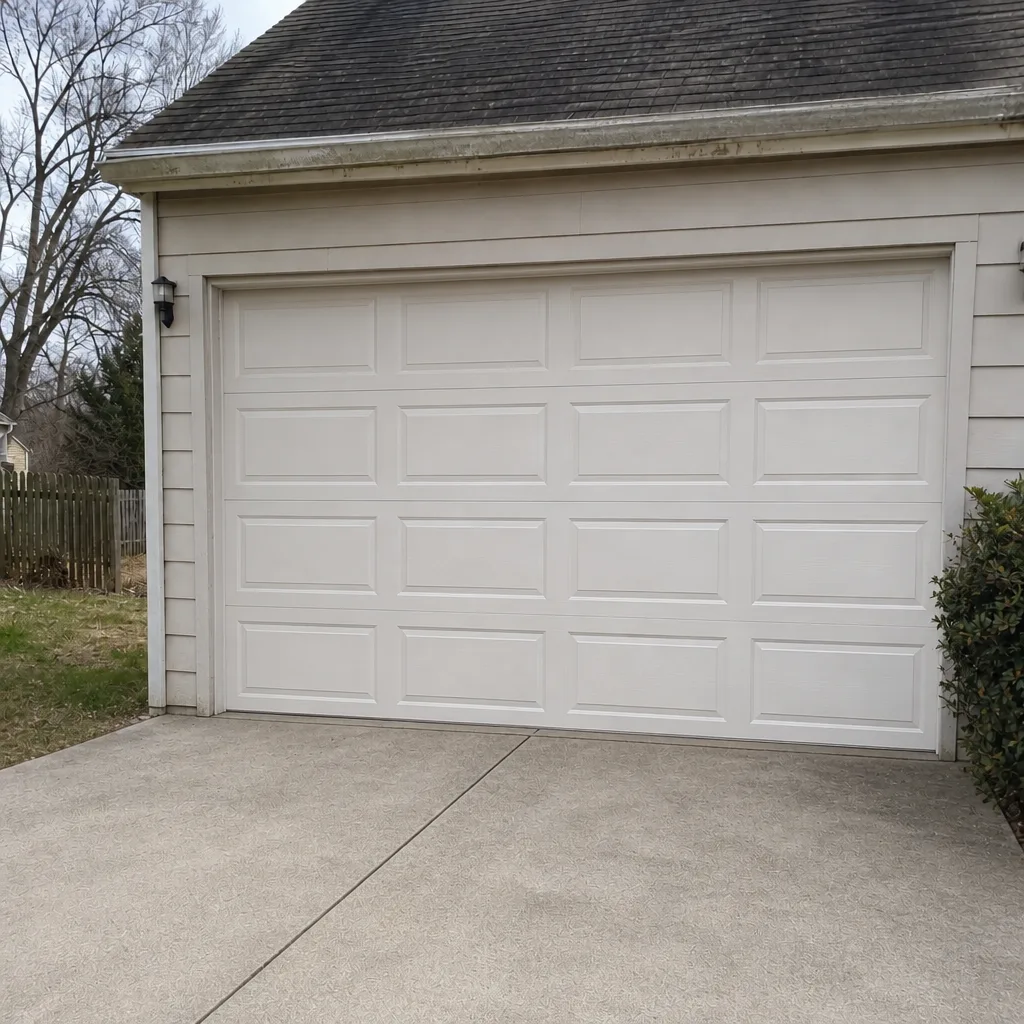 After
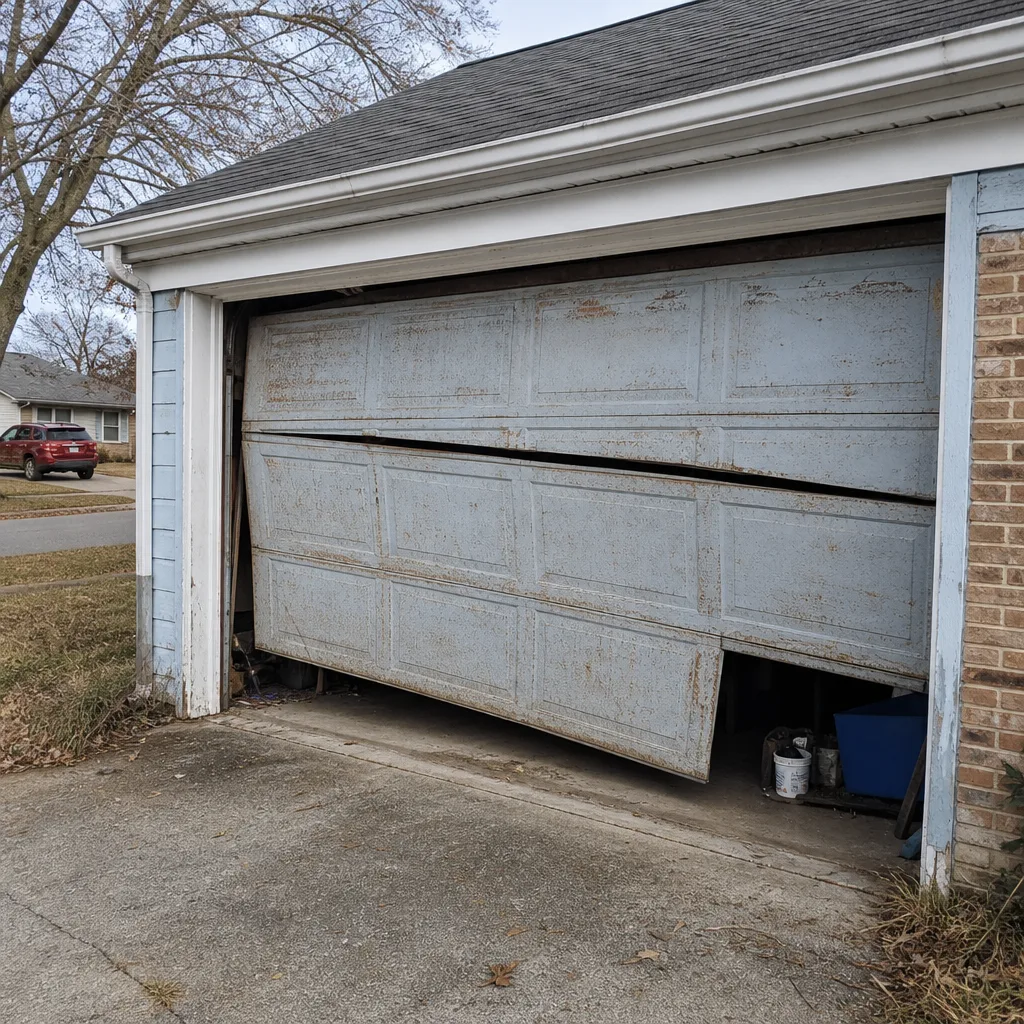 Before
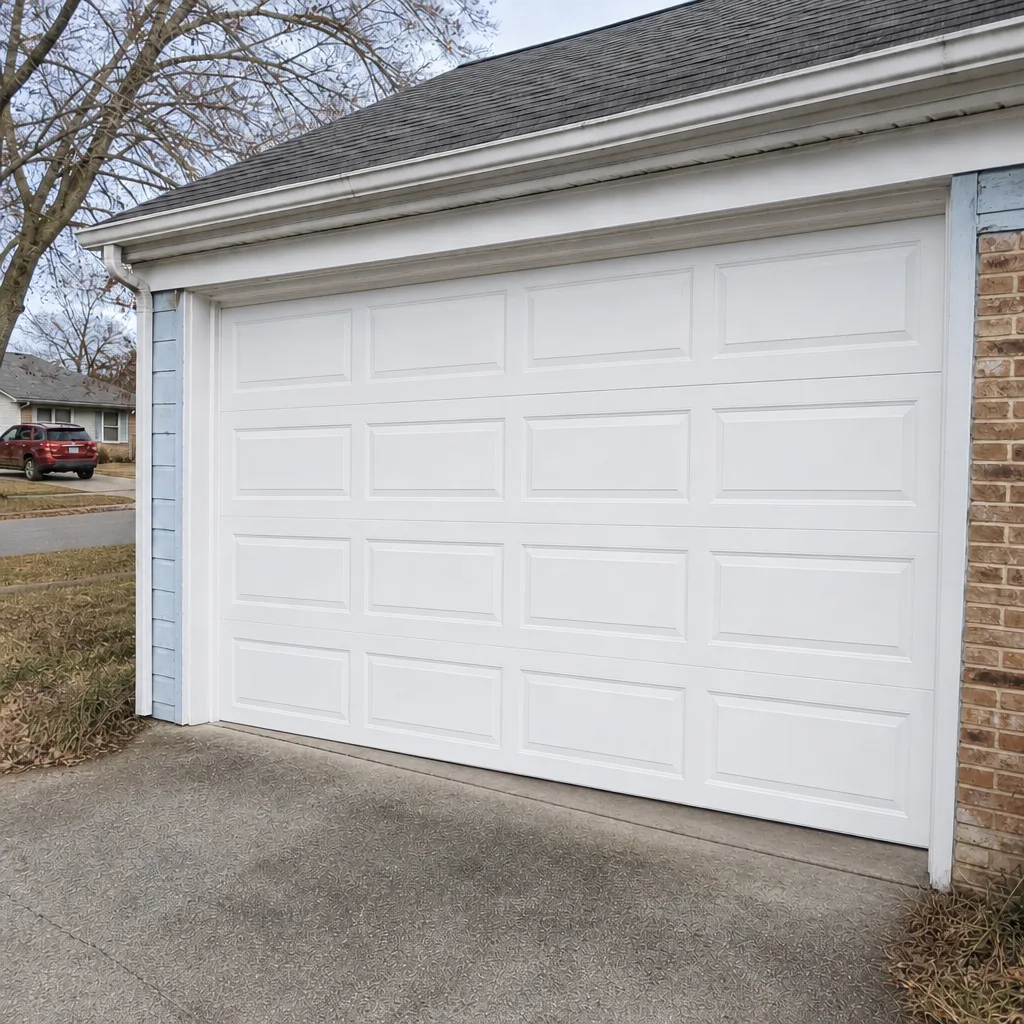 After
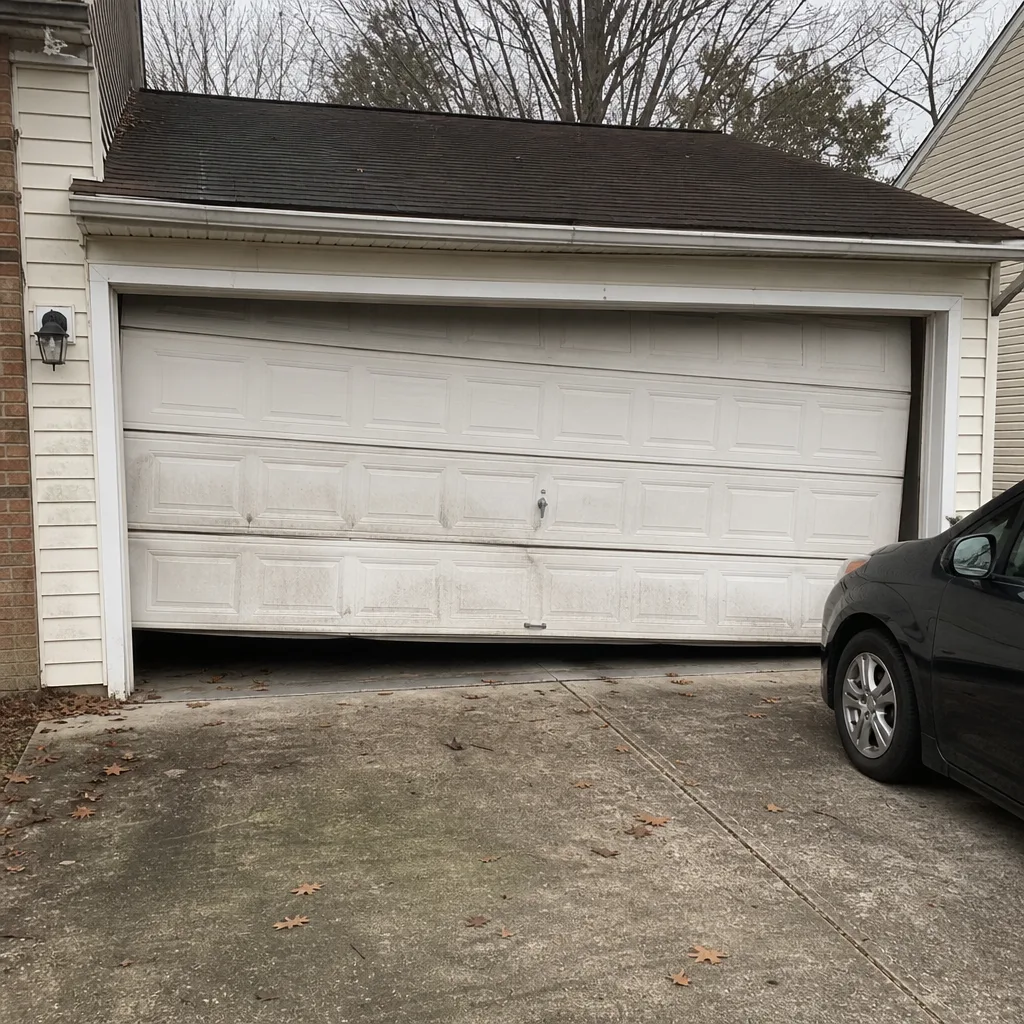 Before
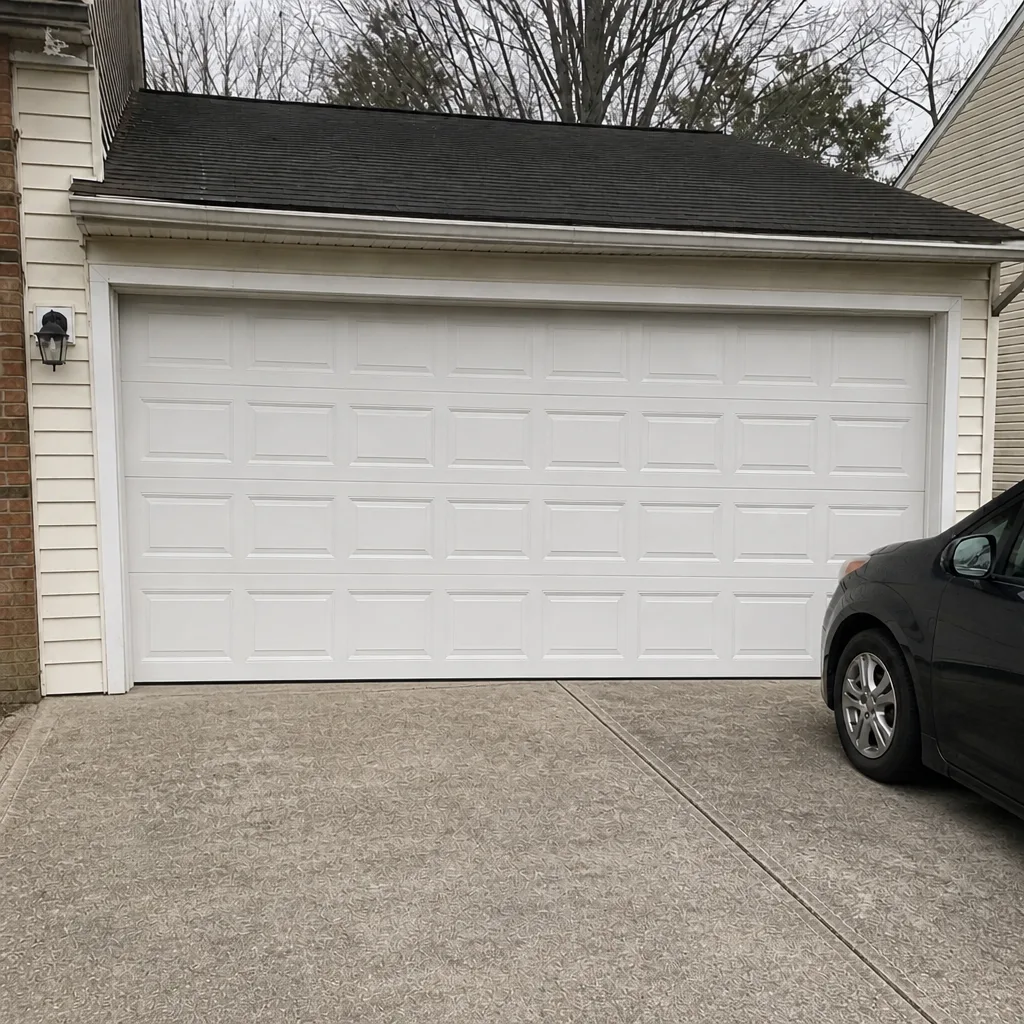 After
When to Call a Professional
Call a professional when you see any of the following:
- A visible gap in the torsion spring coil, or any sign the spring has changed shape since your last inspection.
- A door that feels heavy on the manual lift, or that won’t hold at waist height during the balance test.
- A cable with a loose strand, kink, or visible slack on one side.
- A door that has started jamming, rubbing, or dragging on one side.
- A door that reverses on contact with the ground before it should, or that doesn’t reverse at all during the safety-reverse test.
- Any noise that has changed in character (from a routine creak to a grind or snap) and that repeats at the same point in the travel.
- The manual release has been pulled to move a door that had stopped responding.
Any of these is worth a call. Garage Door Repair Town Center offers free estimates in Town Center – call (833) 509-3459. Our technicians have up to 8 years of experience, and the price is quoted and agreed before any work starts.
Frequently Asked Questions
Twice a year, in spring and fall. Town Center’s humidity and temperature swings make an annual routine too sparse here. The spring pass protects against summer humidity, and the fall pass keeps the door running freely as the metal contracts in cold weather. If your door sees heavy daily use or hasn’t been lubricated in over a year, start with a professional tune-up and then run the routine from there.
The earliest signs are a visible gap in the coil, a door that feels heavier when you lift it by hand, a creak or groan that changes pitch, and one side of the door dropping faster than the other. Any of the four means the spring has lost some of its lift and should be inspected. Don’t try to inspect the spring by hand under tension. Call us and we’ll take a look.
Yes, on the rollers, hinges, and bearing plates only. Use silicone spray or white lithium grease, not standard WD-40. Never lubricate the tracks, the springs, or the cables. Those are the parts that hold tension or that need to stay clean, and lubricating them makes the door run worse, not better.
Grinding is usually a worn roller, a dry hinge, a bent track, or (on a Genie screw-drive opener) dry drive threads. Note where in the travel the grind happens and whether it’s on the up, the down, or both, then call us with that detail. The location in the travel narrows the diagnosis quickly and saves a call-back.
That’s the safety-reverse being triggered, and the most common cause is a blocked safety sensor. Wipe the sensor lenses (there are two, one on each side, at the bottom of the door) with a microfiber cloth and try again. If the door still reverses, the opener’s travel or force setting needs adjustment, and that’s a garage door opener repair task, not a homeowner fix.
Photos of the springs, cables, and tracks, the dates of your last inspection, sounds described as specifically as you can (up, down, or both; where in the travel), which side is affected, whether the manual release was pulled, and the opener brand and model. Send the photos with your call. It’s the difference between a quick diagnosis and a longer one.
Usually no. A spring repair is a much smaller job than a full new door, and it’s the right answer whenever the panels and tracks are in decent shape. Garage Door Repair Town Center does both, so if a repair turns out not to be the right answer for an older Town Center door that’s showing wear at the panel joints, we won’t try to force a repair that won’t last – we’ll give you the full picture and let you decide. A full garage door installation makes sense when the door itself is worn beyond what repair can fix. For most spring-only problems, repair is the right call.
The Bottom Line
A garage door maintenance checklist is only useful if you know what each item is actually protecting against. Springs tell you with four specific signs. Cables show up as loose strands and kinks. Rollers and tracks show up as grinds and rubbing. Openers announce their decline through sound, speed, and safety-reverse trips. Run the 15-minute routine twice a year, in spring and fall, and watch for the specific signals rather than just the general condition of the door. Document what you see. Know the line between homeowner tasks and the jobs that need a technician, and call when you’re on the wrong side of that line.
We’re the team at Garage Door Repair Town Center, and we handle this work across the brand you already have – LiftMaster, Chamberlain, Genie, Clopay, and the rest of the installed base. From a single broken spring to a garage door repair tune-up, to full garage door opener repair, we treat the problem you actually have. No upselling. The right fix, not the most expensive one.
If your door is doing something on this list and you’re not sure what it means, call (833) 509-3459 for a free estimate in Town Center. We’re happy to talk through what you’re seeing and what it likely means before you commit to anything.
Written by the team at Garage Door Repair Town Center.