Last updated November 22, 2026
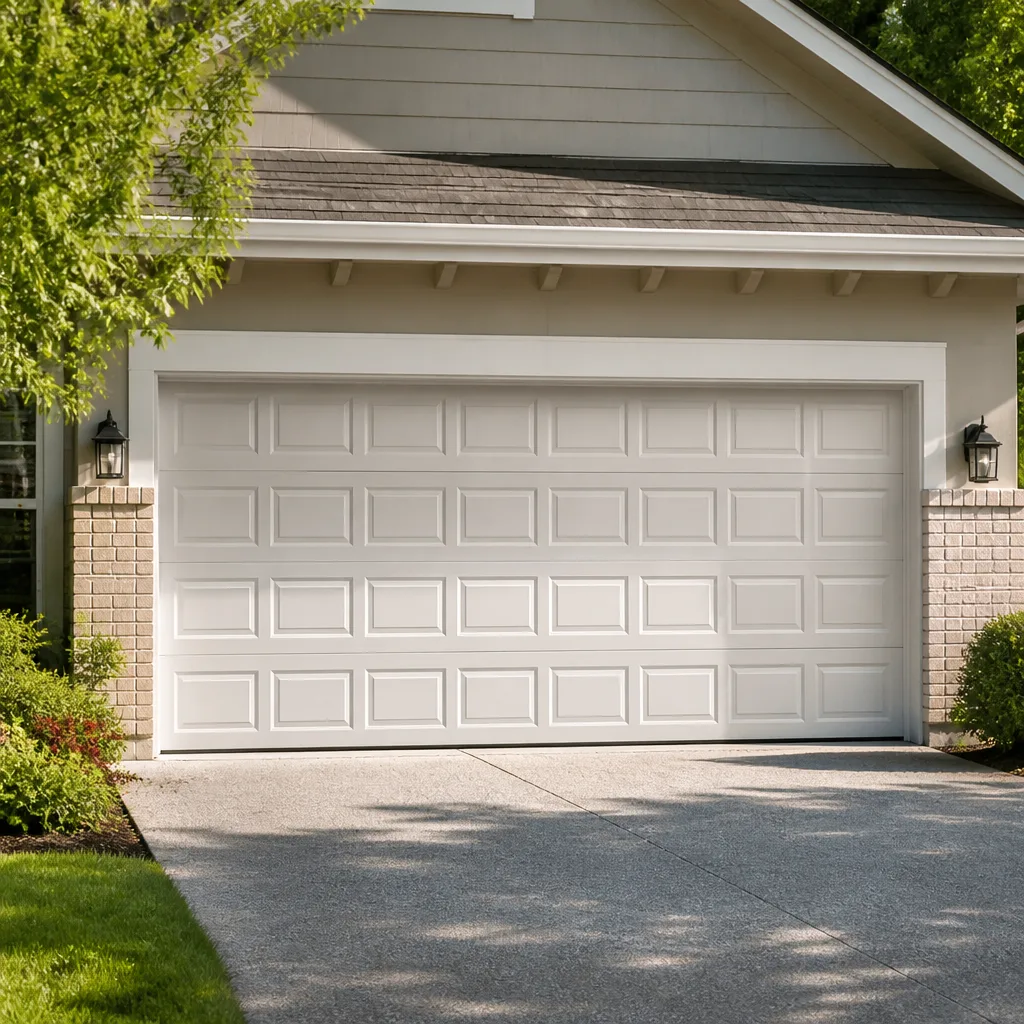 Raised-panel steel
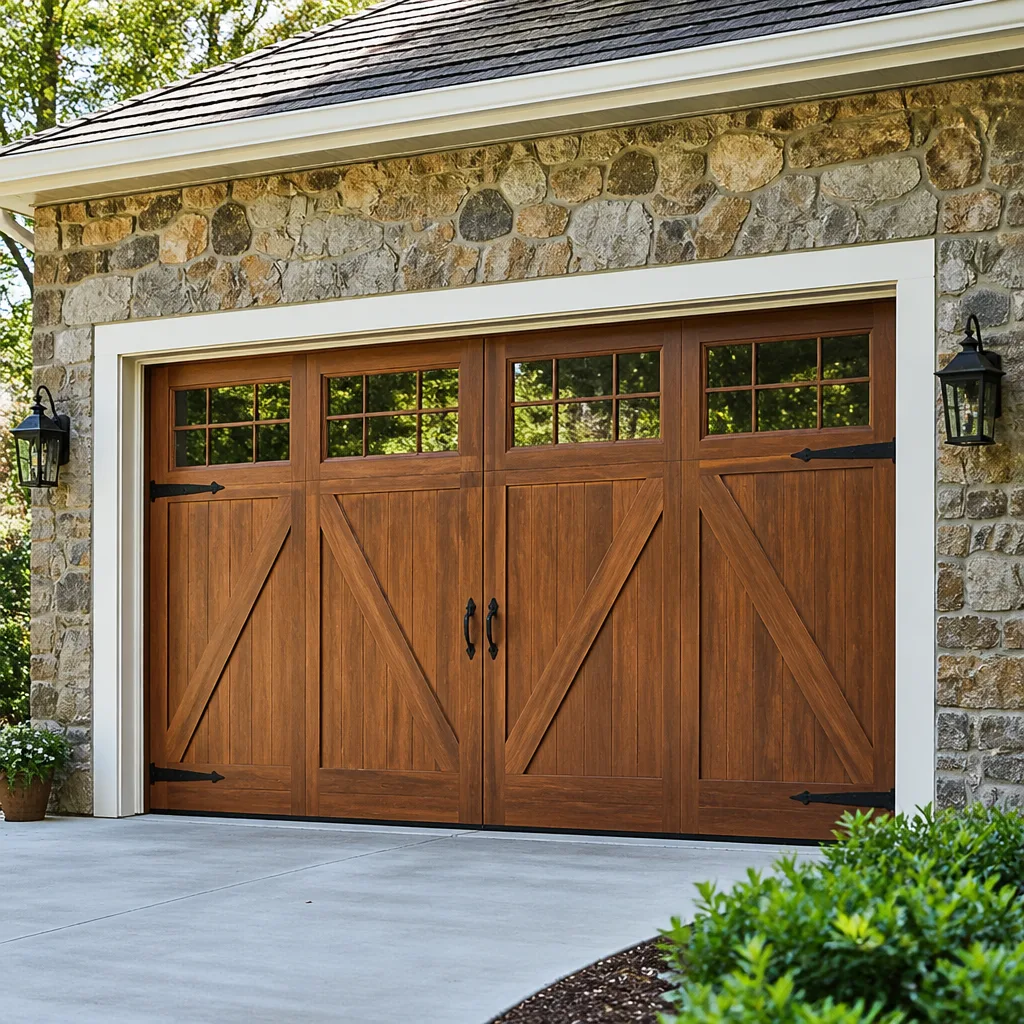 Carriage house
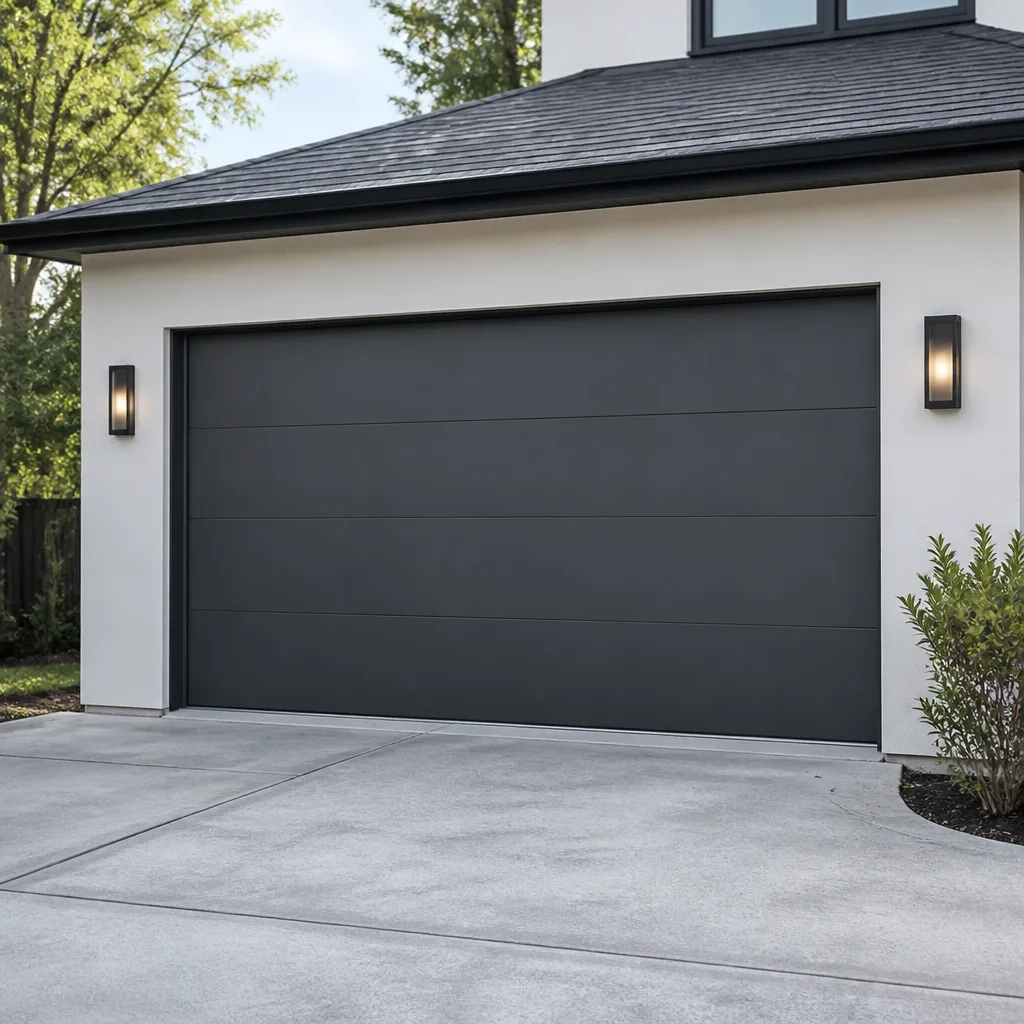 Modern flush
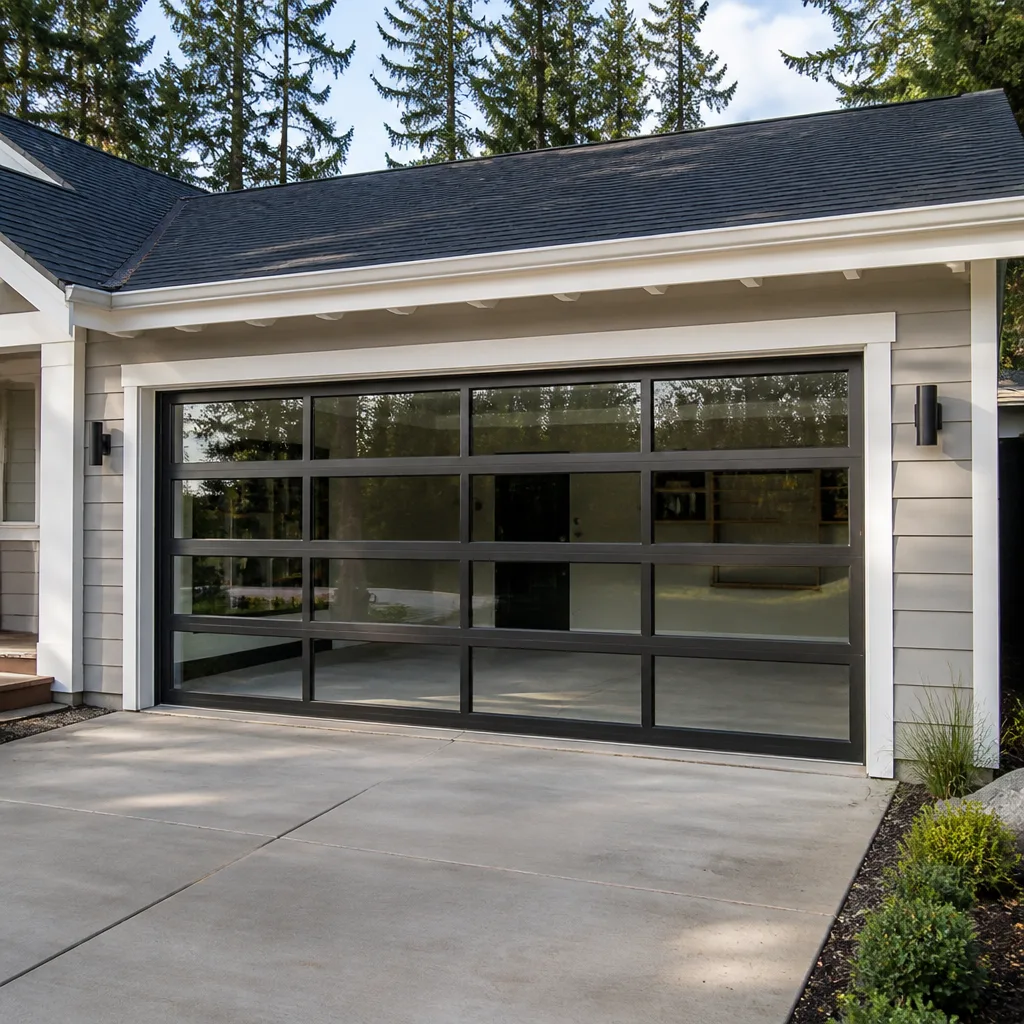 Full-view glass
 LiftMaster openers
 Chamberlain openers
Full 25-point door and opener safety check with every visit - springs, cables, rollers, tracks, and your LiftMaster or Chamberlain opener included
You get a price before we start. It does not change when the pro arrives.
Get your free estimateGarage Door Repair Troubleshooting in Town Center: Common Problems and How to Fix Them
When a garage door reverses before it touches the ground, most homeowners head straight for the close-force dial on the opener. They turn it up, the door still reverses, and now the safety setting is higher than it should be. The real culprit is usually a photo-eye sensor sitting four inches off the floor with a cobweb across the lens or a bracket knocked a few degrees out of line. That gap between symptom and cause is the whole point of this guide. We work on garage doors in Town Center every week, and the pattern holds: once you know which of five mechanical categories a problem belongs to, you know whether to reach for a screwdriver or the phone. Here’s how to sort it out.
Quick Answer
Most garage door problems in Town Center trace back to one of five causes: photo-eye misalignment, a failing torsion spring, worn rollers and hinges, a stripped opener gear or logic board, or a door that’s gone out of balance. You can safely check sensors, lubrication, and the manual release. Spring, cable, and opener-internal work should go to a trained technician. The fastest way to decide is the manual release test in this guide. Call (833) 509-3459 for a free estimate once you know what you’re dealing with.
Styles & brands we work with
- Raised-panel steel
- Carriage house
- Modern flush
- Full-view glass
- LiftMaster openers
- Chamberlain openers
Table of Contents
- The Five Categories of Garage Door Failure
- Symptom-to-Cause: What Each Noise Is Telling You
- Opener Fault vs. Door Fault: Two Separate Diagnostic Trees
- The Manual Release Test: Is the Problem the Opener or the Door?
- The One Spring Check You Can Do Safely (and the One You Can’t)
- Why the Door Reverses Before It Hits the Ground
- Three Town Center Conditions That Speed Up Wear
- Why Brand Fluency Changes the Diagnosis
The Five Categories of Garage Door Failure
Every garage door failure we see in Town Center lands in one of five boxes. Sorting your problem into a box first saves you from chasing the wrong fix. Here’s the breakdown:
- Safety sensor faults. The door starts down, then reverses. Nine times out of ten this is the photo-eye pair mounted near the floor, not the opener’s force setting.
- Spring and balance failures. The door is too heavy to lift, slams shut, or hangs half-open. The torsion spring (or extension springs on older doors) has lost tension or snapped.
- Mechanical wear. Rollers, hinges, bearings, and the track develop wear that shows up as grinding, squealing, or a door that shudders as it travels.
- Cable and drum faults. The door lifts crooked, the cable is slack or has come off the drum, or you hear a whip-like snap followed by a door that won’t move. This is dangerous and stops at the phone call.
- Opener electronics. The door is fine when you pull the release, but the opener won’t respond, the wall button is dead, the remotes stopped working, or the motor runs without moving the door.
Categories 1, 3, and 5 often let a homeowner make progress with a damp cloth and a screwdriver. Categories 2 and 4 require a technician because of stored energy in the spring and cable system. That’s the first fork in the road.
If you’ve sorted your issue into category 2 or 4, that’s a same-day phone call. If it’s category 1 or 5, read on and see how far you get. If it’s category 3, lubrication buys you time but eventually parts need replacing. Every one of these categories is something our garage door repair service handles, and we’d rather tell you which box you’re in than sell you a new door you don’t need.
Symptom-to-Cause: What Each Noise Is Telling You
Noises are the cheapest diagnostic tool you have. A garage door that grinds is telling you something different from one that squeals or bangs, and each points at a specific component. Here’s how we map them.
Grinding
Grinding is metal-on-metal contact. The usual suspects are worn nylon or steel rollers with flat spots, dry bearings in the hinges, or a torsion spring that’s dragging inside its shaft. On a LiftMaster or Craftsman chain-drive opener, a grinding noise that only happens while the door is moving (not when it’s parked) usually means rollers or hinges. If the grinding follows the opener’s motor itself, the gear inside the unit is stripped.
Squealing
Squealing is almost always a lubrication gap: dry rollers, dry hinge pivots, or a dry torsion shaft. It’s the one noise you can often address safely yourself. A silicone-based garage door lubricant on the rollers, hinges, and spring coil (never on the track) quiets most squeals within a day. If it returns in a week, the component is worn, not just dry. This is the point where our Garage Door Repair Town Center team usually gets called to replace the actual parts rather than keep spraying them.
Banging or popping
A single loud bang, followed by a door that won’t lift, is almost always a snapped torsion spring. A rhythmic pop or thud while the door travels is a sign of an unbalanced door or a hinge that’s pulled loose from the panel. Both mean stop operating the door. Continued use on a snapped spring can whip the cables and damage the door panels, and that turns a spring job into a full-door conversation.
Rattling
Rattling is the sound of looseness: hinge bolts backing out, a track bracket that’s worked free of its anchor, or the opener rail sagging. A visual walk-around the door usually finds it in under a minute. Tightening is fine, but if a bracket has pulled out of the wood, don’t just re-drive the same screw into the same stripped hole; that’s a sign of stress that needs a proper anchor or a fresh hole.
Humming without movement
The motor runs, nothing moves. On Genie and Chamberlain units this is often a stripped drive gear or a broken coupler between the motor and the rail. The door itself may be perfectly fine. This is an opener repair, not a door repair, and that distinction matters when you’re deciding what to call.
- Grinding – worn rollers, dry bearings, or a stripped opener gear
- Squealing – lubrication gap, or a worn component underneath
- Single bang – snapped torsion spring, stop using the door
- Rhythmic pop or thud – unbalanced door or pulled hinge
- Rattling – loose hardware, sagging rail, or backed-out brackets
- Humming, no motion – opener drive or coupler fault, or a disconnected door
Opener Fault vs. Door Fault: Two Separate Diagnostic Trees
This is the single most useful distinction in garage door troubleshooting, and it’s the one most homeowners skip. The opener and the door are two separate systems that happen to be attached. When something breaks, you need to know which one is at fault before you spend money on either.
The opener tree
Start at the wall button. If the wall button works but remotes don’t, the problem lives in the remote, the receiver, or a dead battery, not the door. If neither works, check the breaker and the safety sensors. If the sensors are blocked or misaligned, most modern openers (LiftMaster, Chamberlain, Genie, Craftsman all behave this way) will refuse to close. Remotes that used to work and now don’t, on a door that otherwise cycles normally, are a programming or receiver problem. That’s an opener issue with nothing to do with springs, tracks, or panels.
The door tree
Pull the manual release. If the door is stiff, heavy, or drifts down on its own, the door itself is out of balance or the spring has failed. A properly balanced door should hold position halfway up. If it won’t, the door is the problem regardless of what the opener does. If it moves freely by hand but the opener won’t move it, the opener is the problem.
Why the split matters
We see homeowners replacing a perfectly good opener when a $250 spring job would have fixed everything. We see the opposite too, where a burned-out opener is the fault and the door is fine. Getting the split right saves time and money. It’s also why our garage door opener repair team and our door technicians use the same diagnostic script.
Common opener-tree failures
- Logic board failure: remotes and wall button both dead, motor won’t run
- Stripped gear: motor hums, chain or belt doesn’t move
- Broken coupler: motor runs, rail stays still
- Dead backup battery: unit won’t operate during a power cut
- Photo-eye failure: door closes, then reverses, or won’t close at all
The Manual Release Test: Is the Problem the Opener or the Door?
This is the twenty-second test that tells you which half of the system you’re dealing with, and it’s safe to perform on any garage door in Town Center as long as you follow the steps in order.
- Close the door fully and disconnect the opener by pulling the manual release cord (usually the red rope hanging from the rail).
- Lift the door by hand to about waist height, then let go. A balanced door should stay put or drift only slightly. A door that slams down, or that you can barely lift, has a spring or balance problem.
- Push the door back down and check that it travels smoothly. Sticking, grinding, or a door that wants to go crooked points to rollers, track, or cables.
- Reconnect the opener by pulling the release cord again (or running the opener one cycle, depending on the model), then test the wall button.
If the door fails step 2, stop. The spring or balance is the fault and the opener is fine. If the door passes every step but the opener still won’t move it, you’ve isolated the problem to the opener and can focus your repair budget there. If the door fails step 3, you’re looking at mechanical wear.
That single test eliminates the guesswork. On LiftMaster and Chamberlain units, the release cord is on a trolley that re-engages when the opener next runs, so wait for the trolley to cycle before you trust the door to stay connected. On older Craftsman models with a chain trolley, you may need to pull the cord toward the door to re-engage.
The One Spring Check You Can Do Safely (and the One You Can’t)
A torsion spring is a coiled steel rod under enormous tension. It’s the highest-risk component on the entire door, and spring repair is the most mechanically demanding job in our trade. We say that so you understand which spring check is safe and which is not.
The safe check: a visual gap inspection
Standing on the ground, look up at the torsion spring mounted on the shaft above the door. On a healthy spring, the coils sit tight and closed along the whole length. On a broken spring, you’ll see a visible gap, often with the two halves separated by an inch or more, and sometimes you can see the broken end hanging free. If you see that gap, the spring has failed and the door should not be operated. That’s the whole check, and it takes ten seconds. You don’t touch the spring, you don’t wind it, and you don’t try to adjust it.
The check you can’t do safely
Winding, unwinding, or adjusting a torsion spring requires winding bars and a working knowledge of how much energy is stored in each turn. A slip during winding can break a wrist or worse. Do not attempt it. Extension springs on older doors are similarly dangerous because they can release toward a person standing nearby. When we say spring repair is a professional job, we mean it in the plainest way: it’s the one garage door task where the DIY risk is genuinely serious. If you’ve confirmed a broken spring by the gap check, call us and we’ll take it from there.
What repairs actually involve
Spring replacement means matching the wire gauge, inside diameter, and length of the existing spring to the door’s weight, then winding the new spring to the correct tension. It’s done in pairs when the door uses two springs so they wear evenly. Our technicians have up to 8 years of experience with this specific job, and it’s the repair we do most often in Town Center.
Why the Door Reverses Before It Hits the Ground
If your door closes, gets a foot off the ground, and then reverses, the safety sensors are almost certainly the cause. The photo-eye system uses two small lenses mounted near the floor on either side of the door: one shoots an invisible beam, the other receives it. When anything interrupts the beam, the door stops and reverses. Four inches off the floor is the classic height because that’s the standard mounting height and it’s also where the beam most easily gets tripped by a cobweb, a leaf, or a misaligned bracket.
What to check first
- Visual obstruction – wipe both lenses with a dry cloth. A cobweb across the lens is common in Town Center garages that get humid in spring.
- Indicator LED – both sensors should have a steady light (usually green or amber). A blinking or off light means the beam isn’t landing.
- Alignment – sight down the beam path. The two lenses should face each other squarely. A bracket that’s been bumped by a bicycle, a trash can, or a car tire knocks them out of line.
- Sunlight – direct sun into a receiver lens can flood it and cause intermittent reversing. A sun shield or repositioned bracket usually solves it.
- Wiring – a rodent, a lawn tool, or a settling bracket can pinch or sever the low-voltage wire to the sensor.
When it’s not the sensors
If both indicator LEDs are on and the beam path is clear, but the door still reverses, the problem may be the opener’s travel limits or force setting, or a failing logic board. At that point it’s an opener repair, not a sensor repair. On LiftMaster and Chamberlain units, a sensor fault usually shows as a specific flash-code sequence on the rear panel LED; a flashing pattern that isn’t the sensor code means the unit is telling you something else is wrong. If you’re not sure what the sequence means, that’s when our team wants to hear from you.
Three Town Center Conditions That Speed Up Wear
Garage doors in Town Center live under local conditions that push specific failure points faster than you’d expect. Three stand out:
Humidity swings
Town Center’s spring and summer humidity rises and falls across the week, and that cycle works on the wood beneath your door’s hinges, the steel of your track brackets, and the low-voltage wiring behind your sensors. Wood swells and contracts, and a hinge screw that was tight in April can be loose by June. Steel brackets that sit in a damp garage develop surface rust at the anchor points, which weakens the joint. We see more loose-hardware calls in Town Center in late spring than any other time.
Temperature variance
The metal in your door panels, tracks, and springs expands and contracts with temperature. A track that runs perfectly on a mild day can bind on the first cold snap or the first hot week. Grease thickens in cold weather and thins in heat, changing how the rollers travel. Springs lose a fraction of their tension over each temperature cycle, which is why a door that worked fine last season suddenly feels heavy. This is the wear pattern we most often trace to door balance issues in Town Center.
Settling and seasonal movement
Town Center’s soil and freeze-thaw patterns shift enough over a year that garage door frames and track anchors move slightly. A door that closes perfectly in October may show a small gap along one side by spring, or a track that was plumb may lean enough to make the door drag. Check your track with a level once a year. If it’s out by more than a fraction, don’t force the door – that’s a track adjustment, not a lubrication problem.
Why Brand Fluency Changes the Diagnosis
The brand of your opener changes how the diagnostic tree reads. A LiftMaster with MyQ will show a specific flash code on the logic board for a sensor fault. A Chamberlain behaves almost identically. A Genie, especially an older screw-drive model, has its own fault patterns and a different release trolley design. A Craftsman opener, which is essentially a Chamberlain built for the Sears label, shares most of that platform but has some model-specific quirks. Knowing the platform tells us where to look first.
On the door side, brand matters too. Clopay, Amarr, Wayne Dalton, and Raynor each build panels, hinges, and track systems to slightly different tolerances, and a hinge that fits one door may not fit another. When we’re replacing a worn hinge or a bent track bracket, matching the manufacturer’s spec keeps the door running true. That’s why we work on the brands most homes in Town Center actually have, rather than trying to force a generic part.
If a repair reveals that the door is beyond saving, our garage door installation team can take it from there, so you don’t have to find a second company.
Common Mistakes to Avoid
- Turning up the close-force setting to stop reversing. This masks a photo-eye problem and removes a safety feature. Fix the sensor, not the force.
- Lubricating the tracks. The door’s rollers ride in the tracks, and grease in the track collects grit and makes the door drag. Lubricate rollers and hinges, not the track itself.
- Winding a torsion spring yourself. This is the single most dangerous DIY garage door task. If you see the gap, call a technician.
- Operating the door on a snapped spring. Running the opener against a door with a failed spring can whip the cables and damage the panels.
- Replacing an opener when the door is the problem. Run the manual release test before you buy anything. A door that’s out of balance will defeat any new opener.
- Ignoring a track that’s out of plumb. In Town Center’s seasonal movement, a leaning track slowly wears the rollers on one side. Check with a level once a year.
- Assuming a brand-specific part is universal. A hinge or bracket made for a Wayne Dalton door may not fit a Raynor. Match the manufacturer.
See the difference
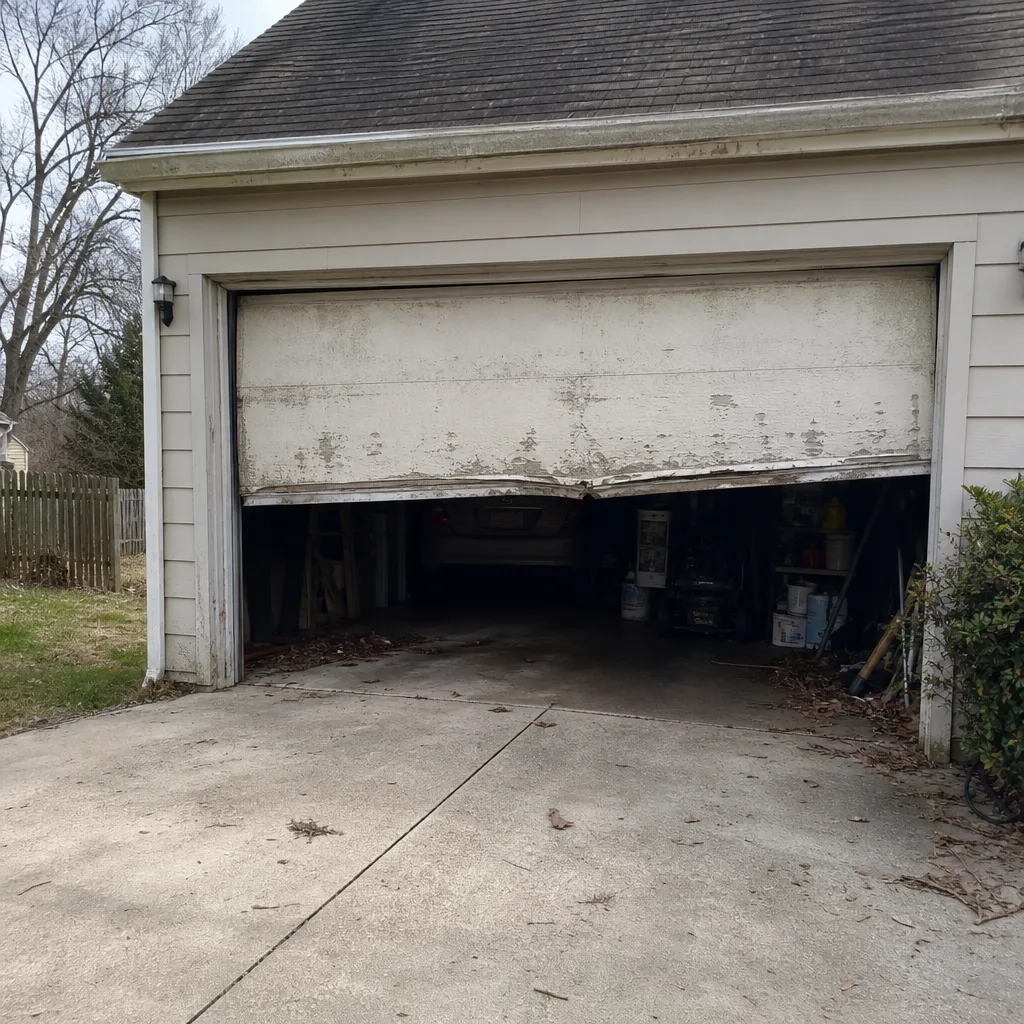 Before
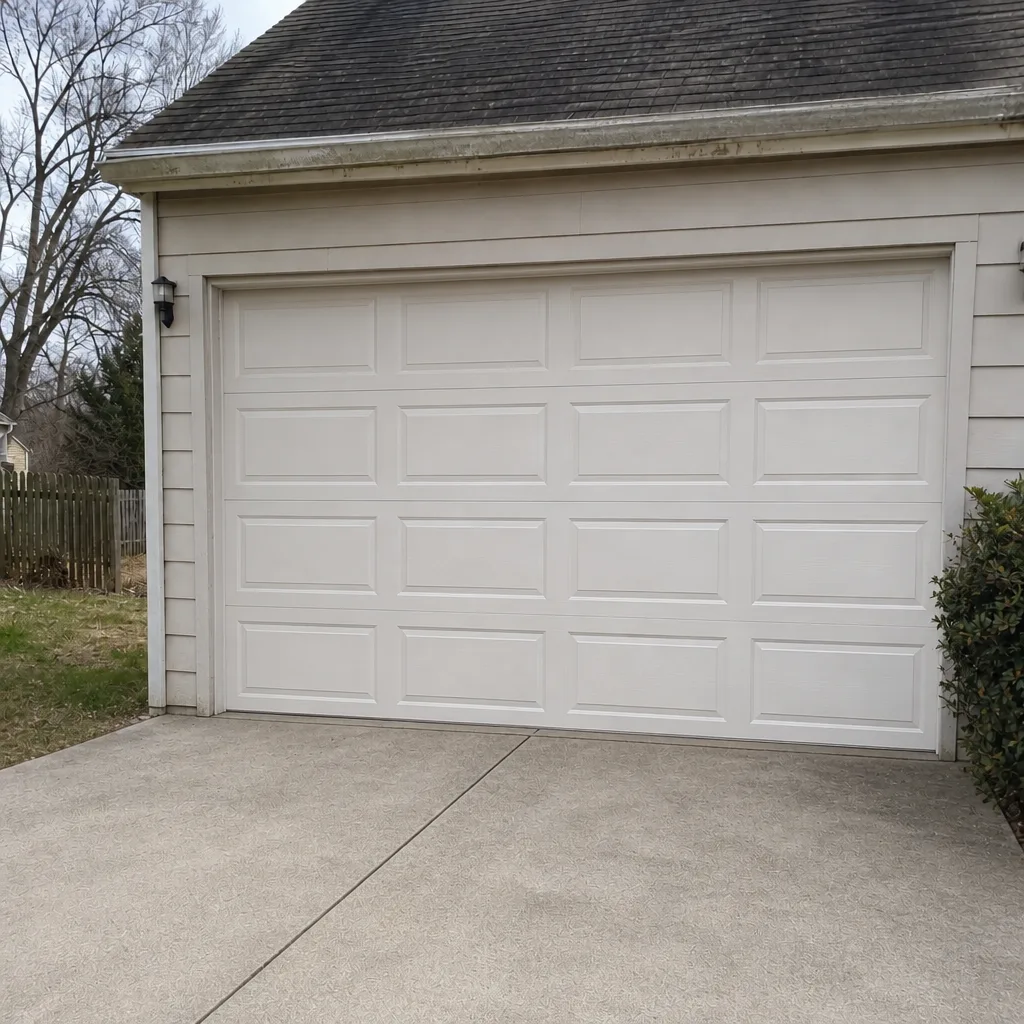 After
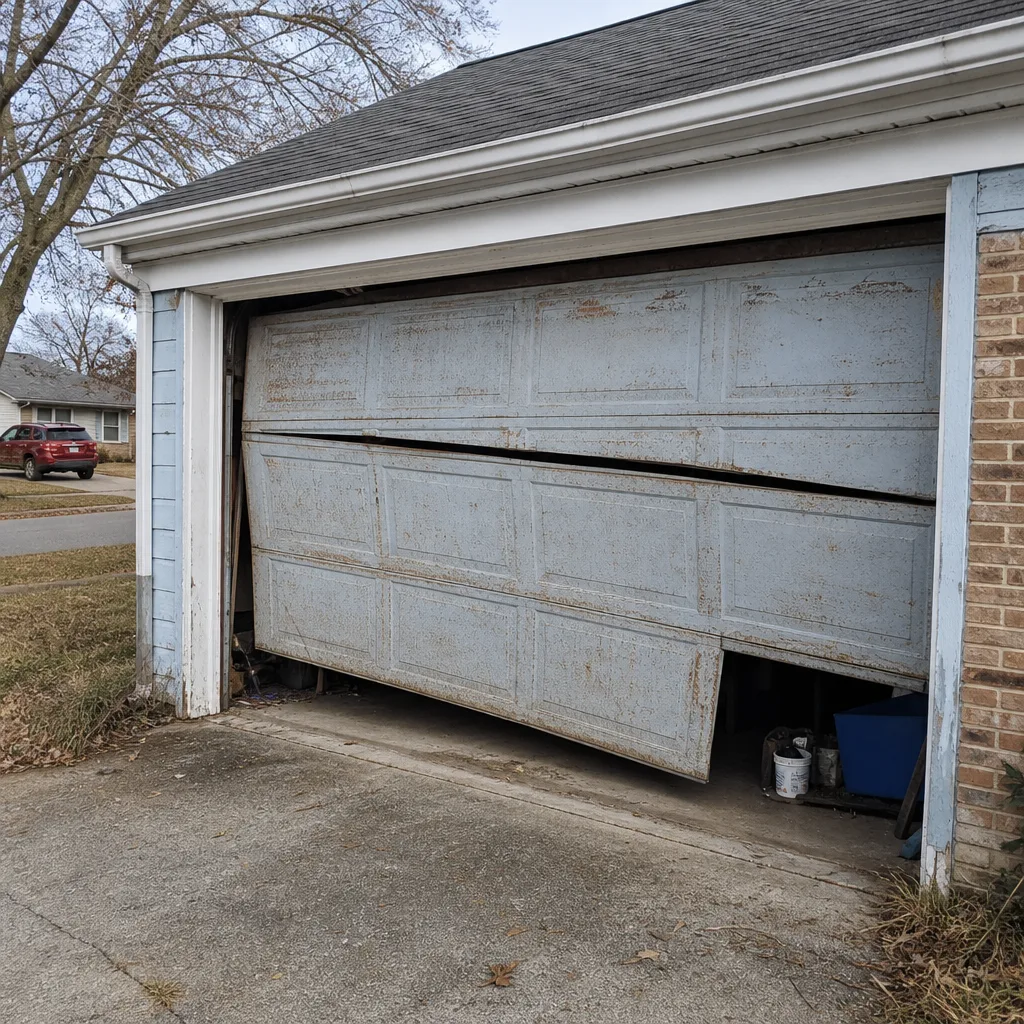 Before
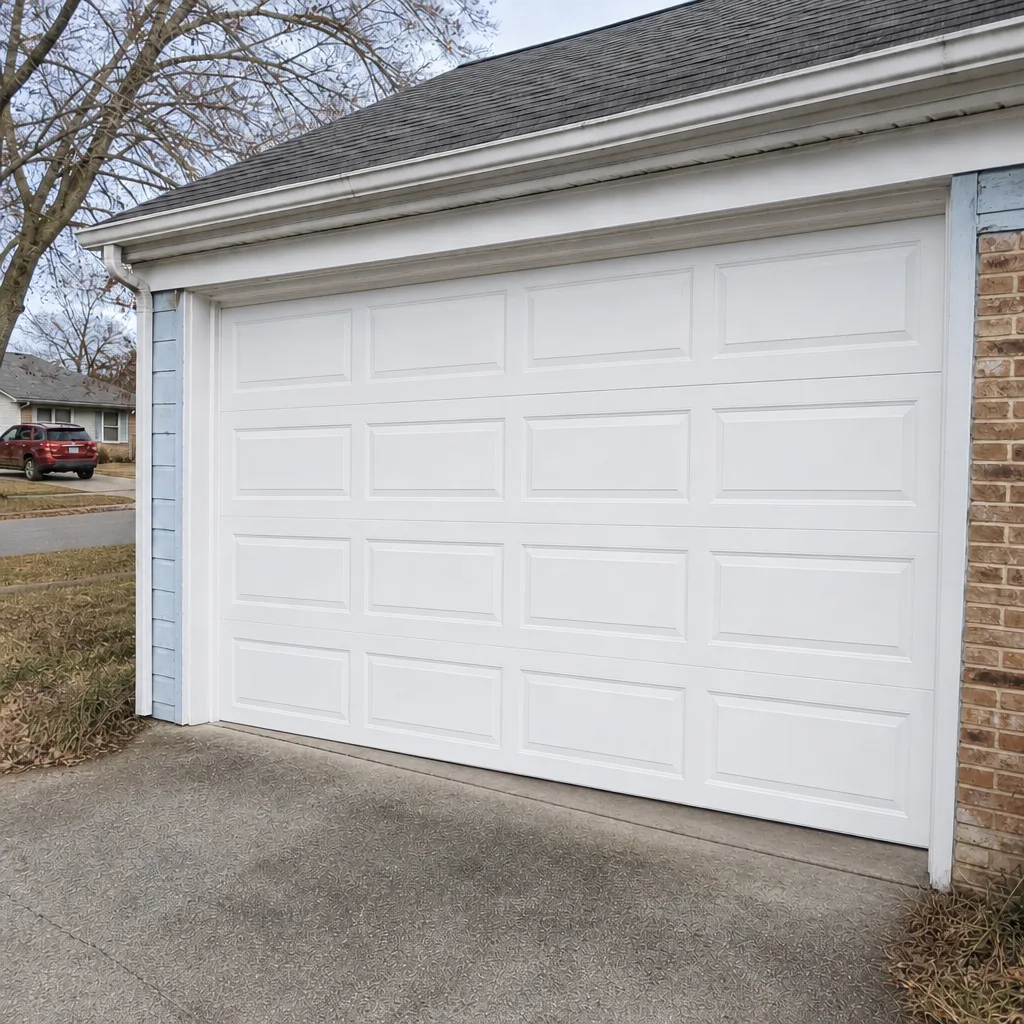 After
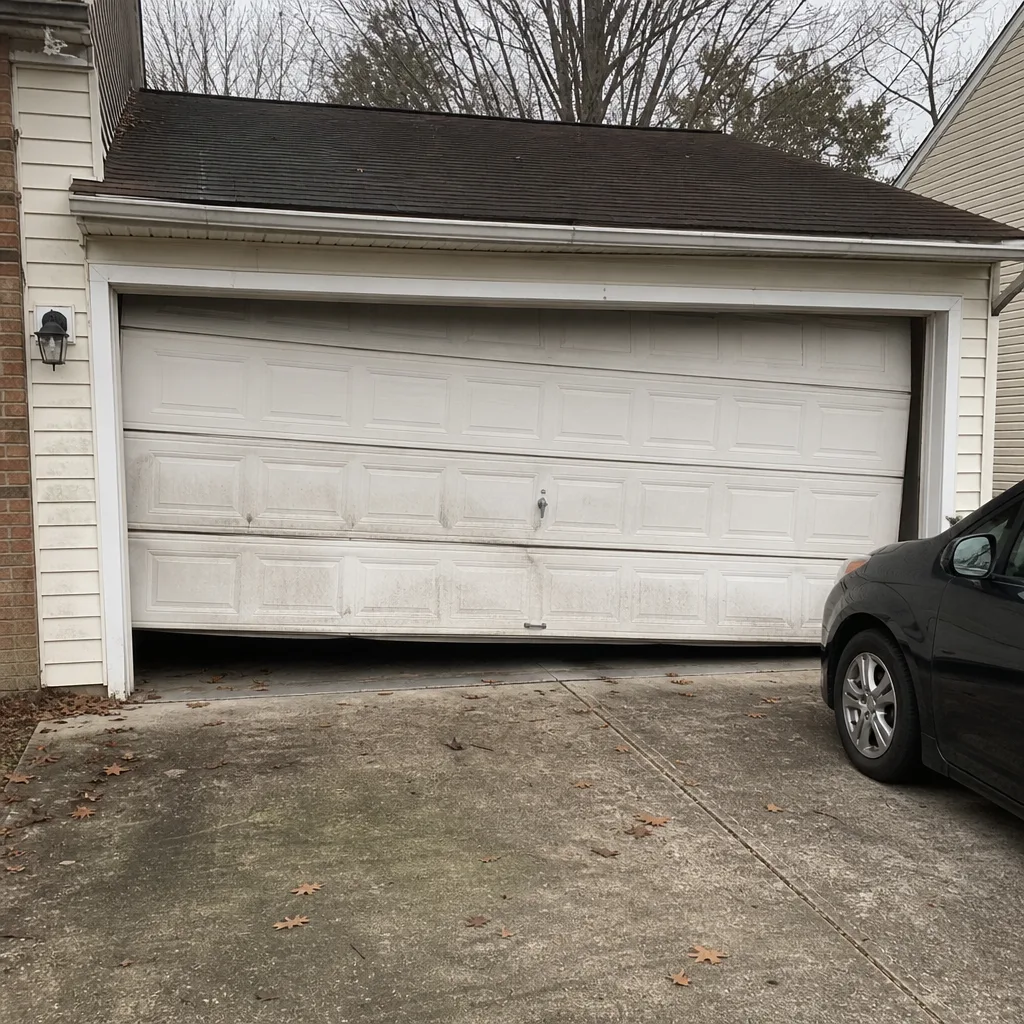 Before
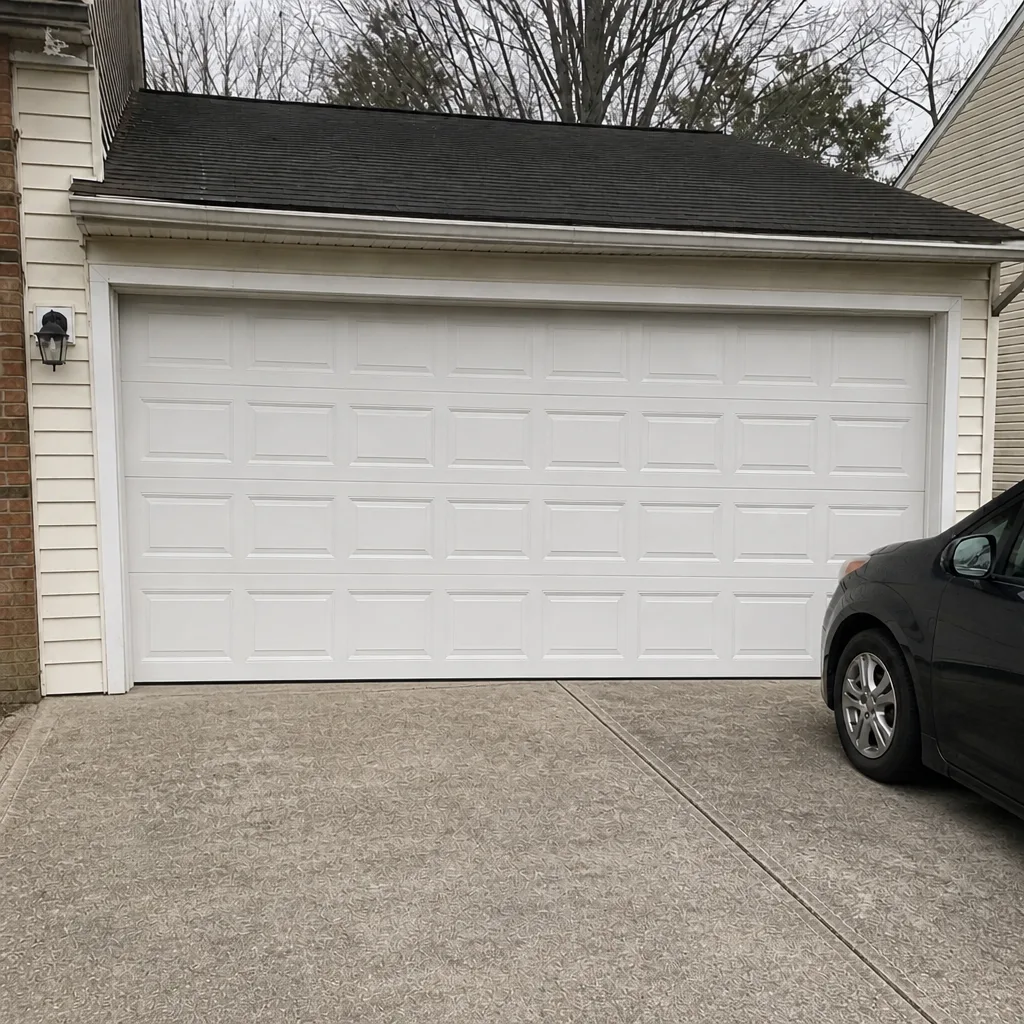 After
When to Call a Professional
Call a professional the moment you see a visible gap in the torsion spring, hear a single loud bang followed by a door that won’t lift, notice a cable hanging slack, or find the door moving crooked. Those are all category 2 or category 4 failures where continuing to operate the door risks injury or turns a repair into a replacement. Also call if you’ve checked the photo-eye sensors and both lights are steady, but the door still reverses, or if you’ve run the manual release test and the door passes but the opener still won’t move it. Those are the points where a technician’s diagnostic saves you from guessing.
Garage Door Repair Town Center offers free estimates in Town Center, and emergency service is a core part of what we do, not an afterthought. If your door is stuck open overnight or you’re locked out, don’t wait. Call (833) 509-3459 and we’ll get a technician out.
Frequently Asked Questions
The photo-eye safety sensors are almost certainly the cause. The two lenses mounted near the floor shoot an invisible beam across the opening, and if that beam is blocked or misaligned, the door stops and reverses. Wipe both lenses, check that both indicator lights are steady, and sight down the beam to confirm the sensors face each other. If both lights are on and the beam path is clear but the door still reverses, it’s likely a logic-board or travel-limit issue, and that’s a call to (833) 509-3459.
Spring repair pricing is quoted per spring, and most doors use a matched pair that’s replaced together. Exact pricing depends on the door’s weight and the spring spec, so we measure before we quote. The written estimate sets the final price, and nothing starts until you’ve agreed to it. Call (833) 509-3459 for a free estimate.
Yes, for emergency situations like a door stuck open, a snapped spring, or a lockout. Emergency garage door service is one of our core offerings, and our technicians are on call for it. Call (833) 509-3459 and we’ll tell you what we can do today.
No, not if we’ve already quoted it. The price we quote is the price we agree to before any work starts. If we discover something on-site that we didn’t know about when we quoted, we’ll show you what we found and ask before we do anything that changes the number. The written estimate is what stands.
The local professionals we connect you with are licensed and insured as their state requires. Our technicians have up to 8 years of experience, and they work on the brands most Town Center homes actually have, including LiftMaster, Chamberlain, Genie, Craftsman, Clopay, Amarr, Wayne Dalton, and Raynor. Call (833) 509-3459 to schedule.
The opener and the door are two separate systems that happen to be attached. Pull the manual release cord and lift the door by hand. If it’s heavy or slams down, the door has a spring or balance problem. If it lifts smoothly by hand but the opener won’t move it, the opener is the fault. That twenty-second test tells you which half of the system to focus on, and it saves you from buying an opener when you need a spring, or vice versa.
The Bottom Line
Most garage door problems fall into five mechanical categories, and the trick is sorting yours into the right one before you spend a dollar. The manual release test tells you whether the opener or the door is at fault. The symptom matrix tells you what each noise means. The safe spring check (a visual gap inspection) tells you when to stop and call. In Town Center’s humidity swings and seasonal temperature variance, worn hardware, thrown-off track, and stretched springs show up faster than in milder climates, so a yearly visual once-over pays for itself. When a problem lands in the spring, cable, or opener-electronics category, call us rather than reason your way through it.
Contact
If your door is stuck, noisy, heavy, or reversing, we’ll diagnose it and quote the fix before any work starts. The right fix, not the most expensive one. Call Garage Door Repair Town Center at (833) 509-3459 for a free estimate, and we’ll get you sorted.
Written by the team at Garage Door Repair Town Center.